
Student Search
Overview
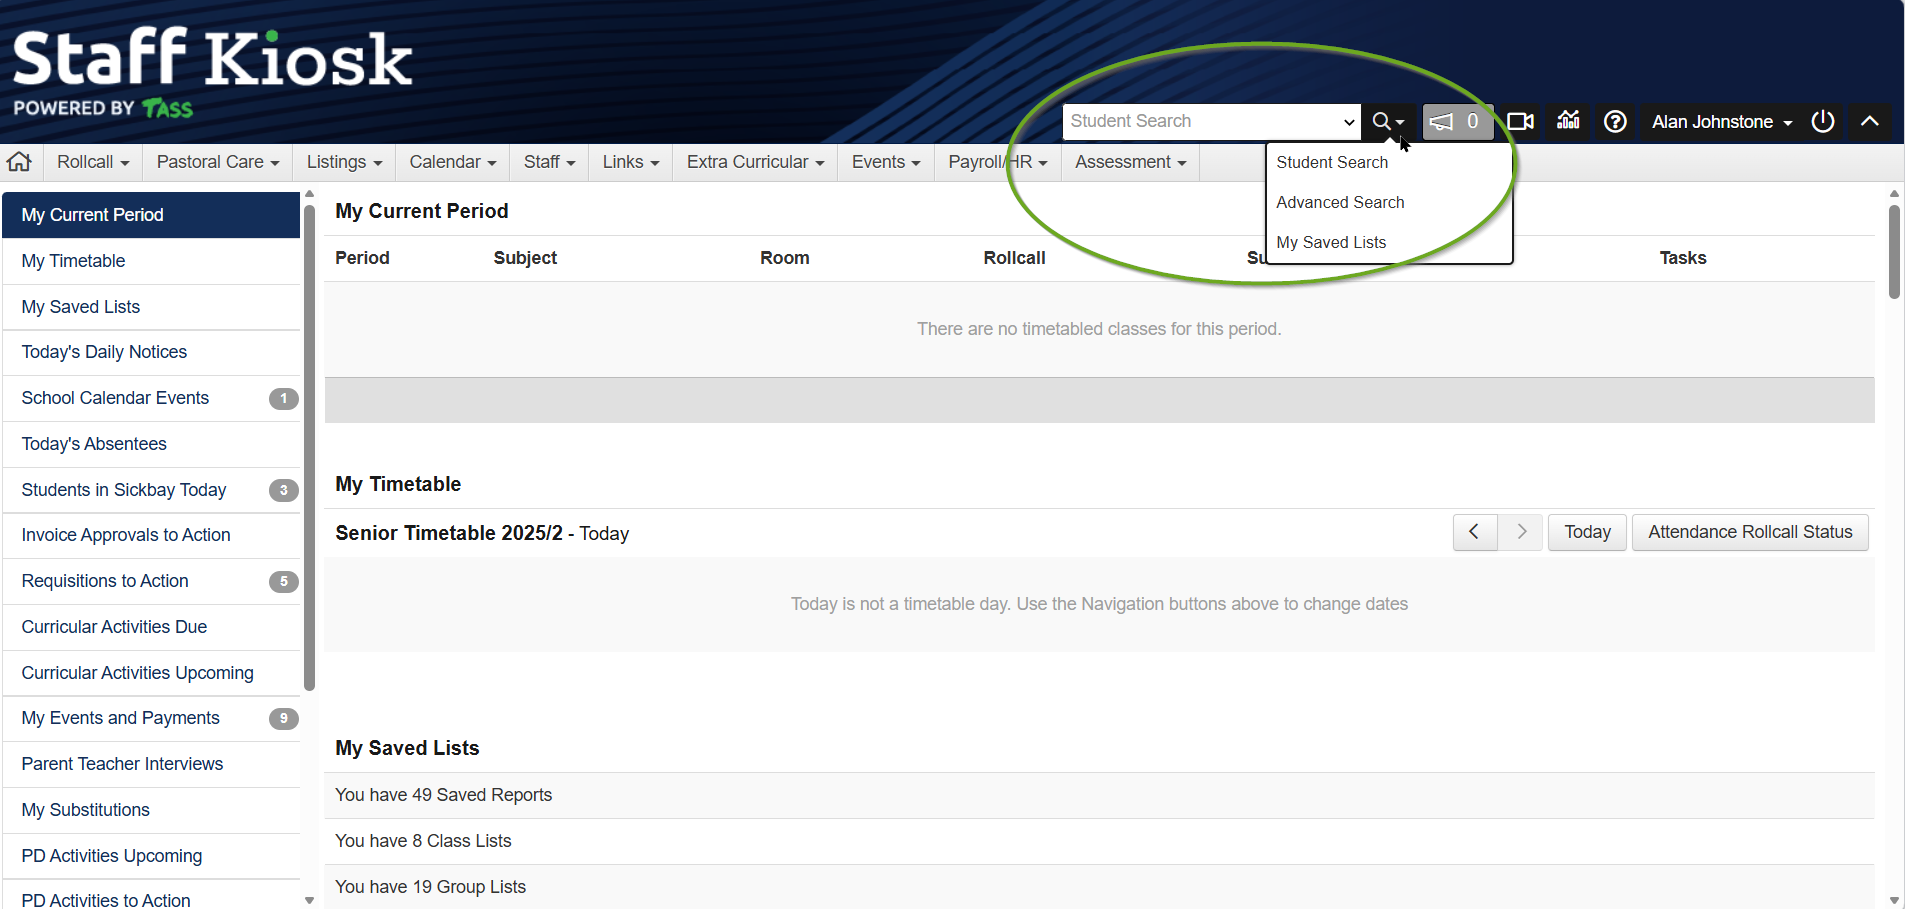
The ‘Student Search’ bar in Staff Kiosk can be used to search for students and load their Student Profile information. It is located at the top-right of the Staff Kiosk screen, on the Staff Kiosk Toolbar.
For more information, see the Student Profile article.
Example
User Security Permissions
Access to the Student Search functionality in Staff Kiosk is controlled by the ‘Student Search’ security points in TASS.web System Admin > Users > Portal Security Permissions for Staff Kiosk. Contact your school’s TASS System Administrator for access.
Access to Student Profile information is controlled by other ‘Student-related’ security points. Refer to the ‘Student Profile’ and related articles for more information.
Searching for Student Information
This Student Search bar tool provides four methods for searching for students:
Student Search Method 1: Search Box
Type three or more characters of the student's code, surname, given name or preferred name into the 'Student Search' box. As soon as the third character is entered, matching students are displayed. You can keep typing to further refine your search or click on the blue section to select the student. This is the type of search that you are most likely to use if you know the student's name.
This search option includes only current students. Use the other methods mentioned below to search for future- or past-dated students.
When using Search Method 1, the selected Student Profile will appear on the screen when the student's name is selected. See the Student Profile article for more information.
Student Search Method 2: Search Filters
Click the ‘Search’ icon and select ‘Student Search’ to refine your search using the following filters to use the following filters to search for and select students:
Surname
Given Names
Preferred Name
Year Group
Form Class
PC/Tutor Group
House
Boarder
Campus
Religion
Gender
Age
Age As at
Student Code
Alternate ID
USI
Student Cafe Access
Email
Mobile Phone
Residency Status
Multi Parenting Arrangements
Parent Name
Use the checkboxes at the bottom of the screen to include or exclude Current Students, Future Dated Students and Past Students in your search.
Click ‘GO’ to generate a Student List based on your search criteria. See the ‘Student List Screen’ section below for more information.
Click the ‘Advanced Search' link to open Method 3 and select a ‘Search Mode’ to filter for student records.
Student Search Method 3: Advanced Search
Click the ‘Search’ icon and select ‘Advanced Search’ to use the following filters to search for and select students:
Search Mode | Filtering Options |
|---|---|
Students |
|
Subject Class |
|
Extra Curricular Activities. |
|
Events & Payments - Current |
|
Events & Payments - Completed |
|
Groups |
Groups are set up in Staff Kiosk Staff > Groups. |
My Saved Lists | Use one of your 'Saved Lists' from Staff Kiosk to select students. My Saved Lists are set up from Staff Kiosk Listings. See the My Saved Lists article for details. |
After selecting your filters, click ‘GO’ to generate a Student List based on your criteria. See the ‘Student List Screen’ section below for more information.
Student Search Method 4: My Saved Lists
Click the ‘Search’ icon and select ‘My Saved Lists’ to display your 'Saved Lists' from the Staff Kiosk Listings > My Saved Lists program.
Click the ‘View Students’ option in the hamburger menu to produce a Student List. See the ‘Student List Screen’ section below for more information.
Student List Screen
The ‘Student List’ screen displays information about the Student’s Code, Name, Year Group, Form Class, Boarder status, Gender, House, PC/Tutor Group, and Alerts.
From this screen, you can use the icons in the top right corner of the screen (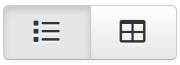 ) to toggle between the ‘Student List’ view and a ‘Student Photo Gallery’ view.
You can also use the ‘Print’ button to export the list in PDF, Excel or Word format.
Select a Student's Name or image to open their Student Profile.
From the hamburger menu, you can access the following functionality:
eDiary | Click ‘eDiary’ to access this student's eDiary. See the Calendar Feeds (Setup), ▶️ Accessing Student eDiaries Video, or ▶️ How to use your eDiary in Student Cafe Video for more information. The eDiary will show you if there is any other event occurring for this student, such as a music lesson. Students can access their eDiary via Student Cafe eDiary > Calendars or the Student Orbit app. |
Currently | View the student's current whereabouts, e.g. class, sickbay or absent. |
Generate Email | Generate an email to the student or parent. See How to Generate Emails for more information. |
Send SMS | Send an SMS to the student or parent. Important! SMS messages are not free. Your school will be charged a fee by your SMS provider for each message that is sent. Your school must have an SMS Gateway configured to send SMS from this program. Refer to the SMS Notification Setup Checklist for details |
Send Notification | Display a Notification to the student or parent in:
See Adding a New Student Notification or SMS for more information. |
PC Entry | Create a Pastoral Care Entry for the student. See Adding a New PC Entry for more information. |
Ghost Logon |
|
All communication (email, notification and SMS) generated from Staff Kiosk is recorded in a Communication Log.
The Communication Log tracks communication details, including recipients and whether they viewed the message.
View a student's Communication Log via Staff Kiosk at Student Profile > Communication Log or TASS.web at Student Admin > Student Records > Student Information > Students on the ‘Communication Log’ tab.
The parents' Communication Log is integrated into the Student Log in Staff Kiosk under Student Profile > Communication Log. To view parent communications, click the ‘See More’ button and review the ‘Recipient Info’ column. TASS.web users can also access the parent communication log via TASS.web Student Admin > Parent Records > Parent Information > Parents on the ‘Communication Log’ tab.
View a staff member's Communication Log in Staff Kiosk at Staff > Staff Details > Communication Log.
Notifications sent to Parent Orbit and Staff Orbit devices are visible via the ‘Communications Logs’ in TASS.web System Admin > Orbit > Orbit Dashboard.
For more information, see the Student Profile article.