
TASS.web User Interface
Overview
The three main elements of the TASS.web user interface (UI) are:
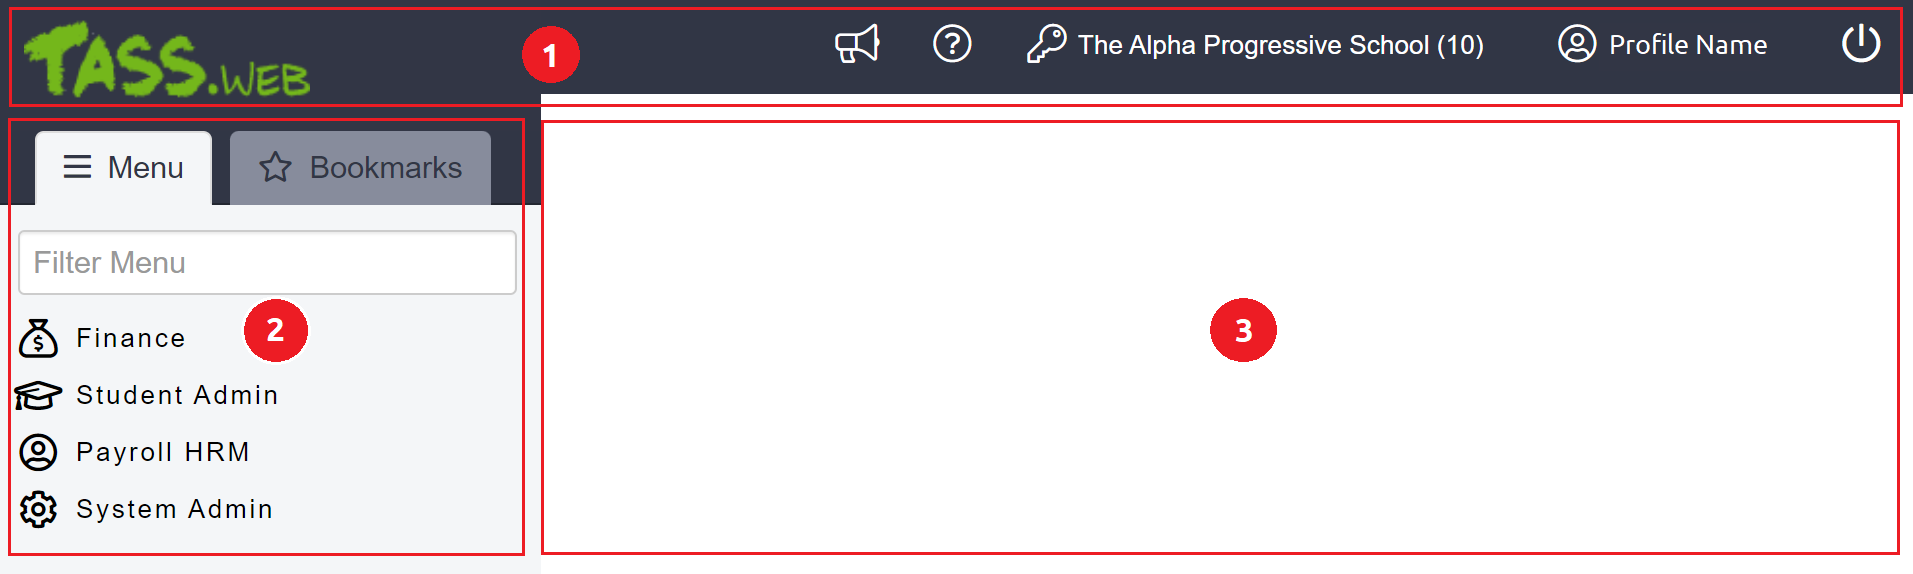
The Top Toolbar
Icon | Details | |
|---|---|---|
| TASS.web Logo | The TASS.web logo doubles as a 'Home' button, which will return you to the default home page or your own bookmarked home page each time you click on it. See 'Bookmarks' section below on how to add your own home page. |
| Latest Release Notes | Use this icon to access the Release Notes page located on the TASS.web Knowledge Base. Each release version explains the completed enhancements and corrections of interest. |
| Help | The Help icon opens the TASS.web Knowledge Base (aka the 'Online Help') where you will find a collection of how-tos, FAQs, videos, troubleshooting tips and information about each program in the TASS suite. |
| Change Company | Select from the list of companies that you have been allocated access to (via TASS.web System Admin > Users > User Maintenance) Check the radio button against the company you want to change to and click 'Save'. |
| Profile Name | Hover over your name to display details of your TASS.web instance. You will also find important support information, including contact details and quick access links to the following:
Example  |
| Logout | Log out of your TASS.web session. |
| Software Update | When a software update is available, click this icon to open TASS.web System Admin > Utilities > TASS Software Update, where details of the update will be available for review. |


The Left Menu Panel
The left menu panel contains two tabs:
'Menu' tab
'Bookmarks' tab
Menu Tab
The Menu tab displays the different TASS.web areas. From here, you can drill-down into the various modules and programs, e.g. 'Student Admin'. When a program is selected, it will display in the Work Area.
Bookmarks Tab
The Bookmarks tab allows easy access to commonly visited areas, and the ability to add your own bookmarks for easy access.
Icon | Function | Details | ||||||||||||||||||||||||||||||||||||
 | Add Bookmark | To add one or more bookmarks:
The link will save in your bookmarks list. Repeat for each program you wish to save in your bookmarks list. | ||||||||||||||||||||||||||||||||||||
 | Bookmarked Page | As bookmarks are added they will display in the list below the Add Bookmark icon. Click a hyperlink to go to the bookmarked section. | ||||||||||||||||||||||||||||||||||||
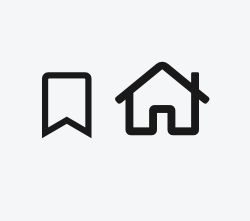 | Homepage Bookmark | To set a 'Homepage' bookmark:
The link will display first in your bookmarks list along with the house icon to indicate it is the 'Home' bookmark. Example 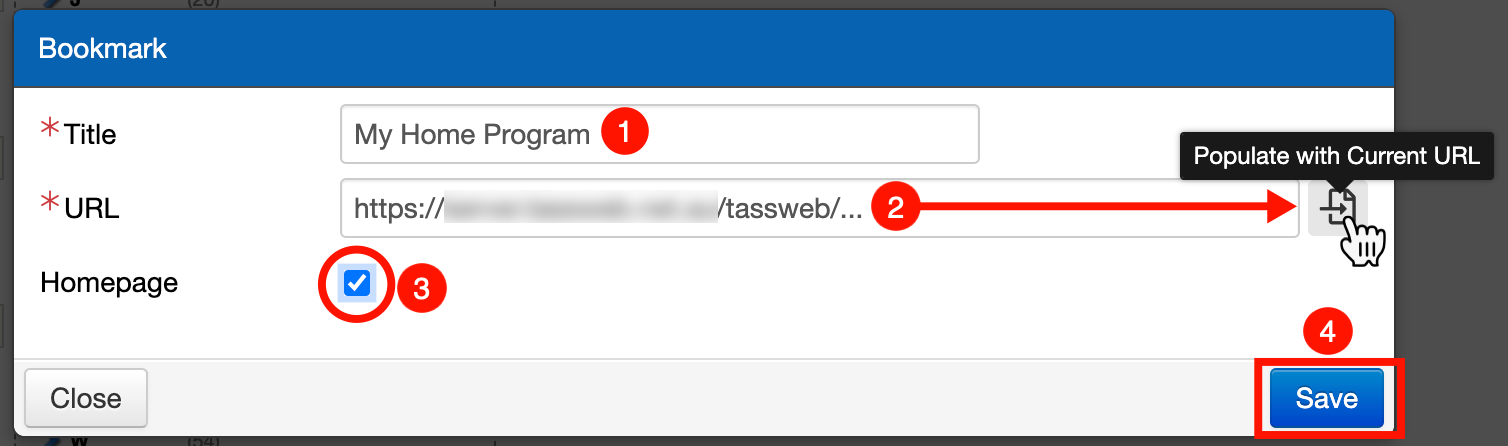 Only one bookmark can be saved as the 'Home' bookmark. All other bookmarks will display in a list under the Home bookmark. | ||||||||||||||||||||||||||||||||||||
 | Edit/Delete Bookmark | Click on the options menu to 'Open', 'Edit' or 'Delete' an existing bookmark. | ||||||||||||||||||||||||||||||||||||
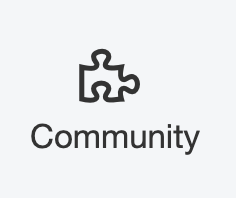 | Community | Click this icon to access the Communityprogram. | ||||||||||||||||||||||||||||||||||||
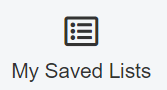 | My Saved Lists | Click the 'My Saved Lists' icon to view and manage saved reports generated by TASS.web Student Admin > Student Records > Listings/Reports/Merges > Details Listing, and schedule them to be distributed via email. From the ‘hamburger menu’ of the program, you can:
User Security Permissions To use 'My Saved Lists', you must have the 'My Saved Lists’ user security permissions. To use ‘Maintain Schedules’, you must have either ‘Create Schedules for all Recipients’ or ‘Create Schedules for Themselves Only’ user permissions. User Permissions can be managed using TASS.web System Admin > Users > Security Role Permissions or TASS.web System Admin > Users > User Maintenance. Within the ‘Maintain Schedules’ program, you can:
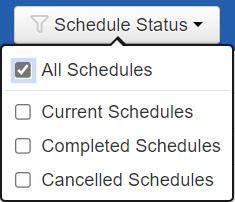
When the ‘Schedule Status' filter criteria have been met, the following details will display in the grid: Example 
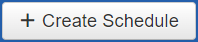
Create a New Schedule From the My Saved Lists screen, click on the ‘hamburger menu’ next to the report you wish to schedule, then click the '+ Create Schedule' button. Multiple schedules can be created if you would like different recipients to receive the email at different times or with a different message. At the scheduled date and time, an automated email will be sent to the recipients. The automated email contents are defined in TASS.web System Admin > Utilities > Email Settings > System Email Templates > Scheduled Listing template. A custom message for each schedule can also be included by adding text to the 'Message' field. The report will be emailed to the recipients from the 'no reply' email address specified in TASS.web Finance > General Ledger > Setup Information > Company Information. The Scheduled Listing System Email Template is used for sending emails in both Staff Kiosk My Saved Lists and TASS.web My Saved List program. When the listing is located in Staff Kiosk Listings > My Saved Lists, the email template says: “<<Click here to review your Scheduled Listings>>” with a direct link to the program. When the listing is located in TASS.web Bookmarks Tab > My Saved Lists, the email template says: “Sign in to TASS.web, open My Saved Lists, to check your scheduled reports.”
| ||||||||||||||||||||||||||||||||||||
 | Kiosk | The ‘Kiosk’ icon on the TASS.web Bookmarks tab provides a shortcut to your school’s Staff Kiosk Portal Product if it has been set up by your school in TASS.web System Admin > Utilities > Product Activation Maintenance. | ||||||||||||||||||||||||||||||||||||
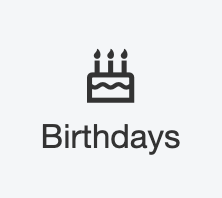 | Birthdays | Click the ‘Birthdays' icon to display a list of Student Birthdays. The default is for the program to display Birthdays for 'Today Only'. Alternatively, you can elect to display Birthdays for 'Current Week', 'Next 7 days', or 'Next 30 days'. Select the ‘Include Teachers and Staff’ checkbox to also include Staff (Employee Record and Teacher Record) birthdays in the list. Click 'Print' to generate a listing of the Birthdays displayed. User Security Permissions Access to this icon is controlled by the ‘View’ permissions on the 'Students' security point in TASS.web System Admin > Users > Security Role Permissions or TASS.web System Admin > Users > User Maintenance. The ‘Include Teachers and Staff’ option only appears when the user has ‘View’ permission assigned to the ‘Teachers’ security point in TASS.web System Admin > Users > Security Role Permissions or TASS.web System Admin > Users > User Maintenance. The ‘Teachers’ security point also controls access to TASS.web Student Admin > Teacher Records > Teacher Information > Teachers. | ||||||||||||||||||||||||||||||||||||
 | Public Calendar | Click this icon to view the School Calendar events and notices in Staff Kiosk for the Public Calendar. | ||||||||||||||||||||||||||||||||||||
The Work Area
The Work Area displays the program selected from the Menu option.
If you have set up a ‘Homepage Bookmark’, the selected homepage will appear in this area as the first screen you see each time you log in.
Click on the TASS.web logo to collapse expanded menus and return to the default home page, or the page you have set as your own homepage.