Activity Builder - Step 2 of 3
This step allows you to attach one or more (up to 10) digital Resources for students to reference whilst completing the Activity.
It is not mandatory to attach a Resource to your Activity. To proceed to 'Activity Builder Step 3 of 3' without attaching a Resource, just click the 'Next' button.
An example of a Resource that is attached to an Activity could be a rubric that outlines expectations of the quality of work required to achieve each level of grade.
There are two options available to attach Resources to an Activity:
Use an existing Resource from the Learning Objects Repository.
Create a new Resource on the fly.
Using an Existing Resource
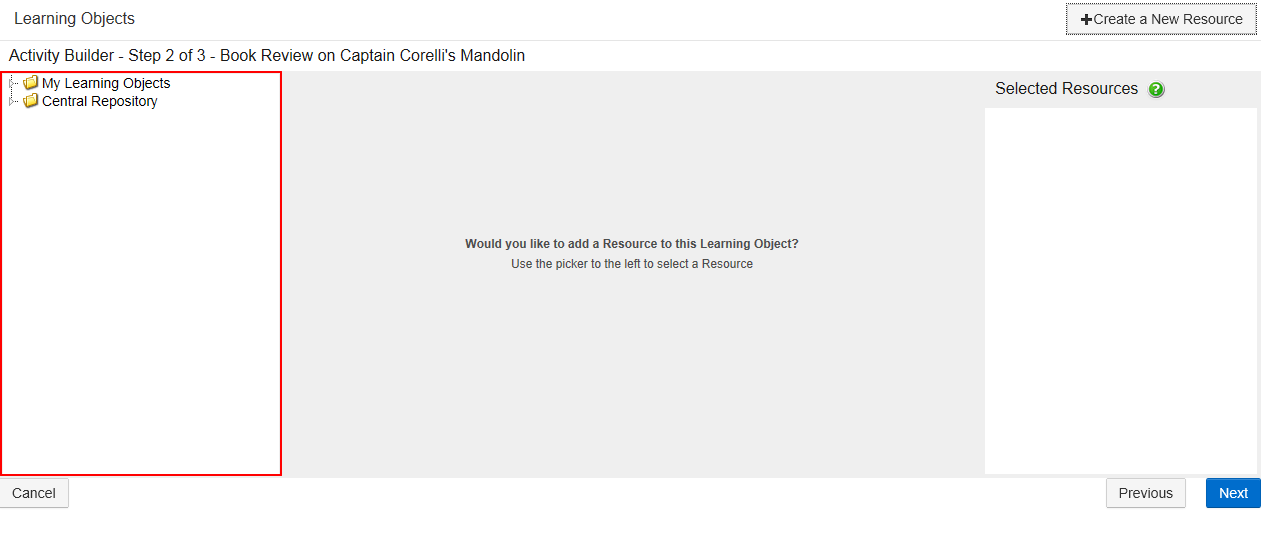
When you first access the Learning Objects Repository in Step 2, it will look similar to the screen directly below. The program will display the Learning Object Repository, with Resources only loaded:

Browse through the Learning Object Repository to locate the Resource(s) you would like to attach to your Activity.
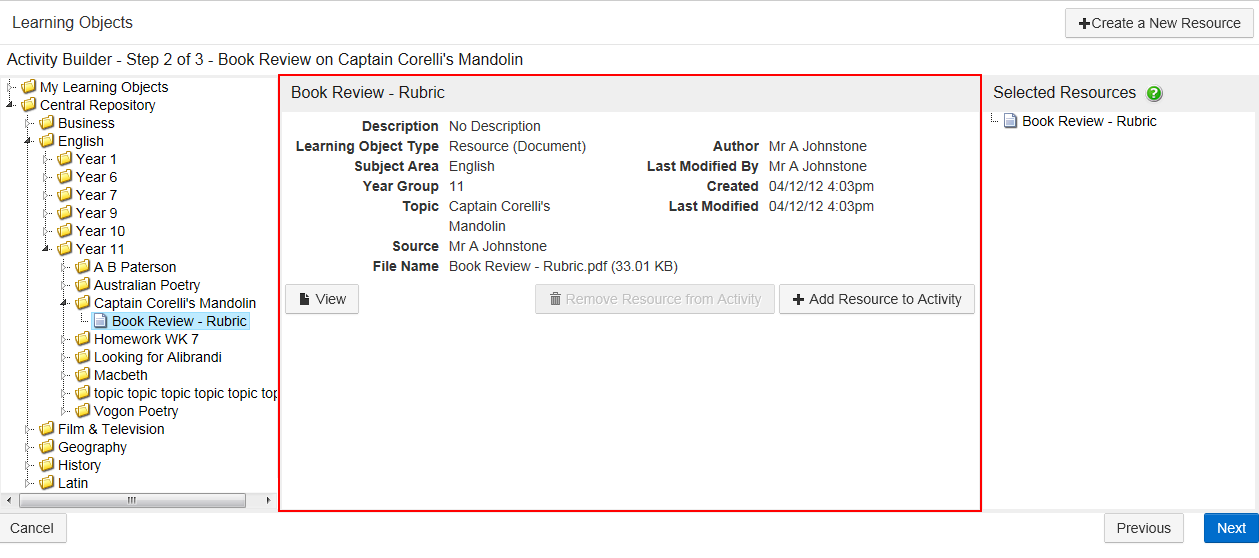
After a Resource has been selected from the Learning Object Repository, details of the Resource will be displayed in the middle of the screen:

Click the 'View' button to look at the Resource before attaching it to your Activity.
'Click the 'Add Resource to Activity' button to attach the selected Resource to your Activity.
Resources that have been added to the Activity will be displayed in the 'Selected Resources' column.
You can also double-click a Resource from the Learning Object Repository to add it to the 'Selected Resources' column (PC and MAC only).
To remove a Resource, select the Resource from the 'Selected Resources' column and click the 'Remove Resource from Activity' button.
Adding a New Resource 'On the Fly'
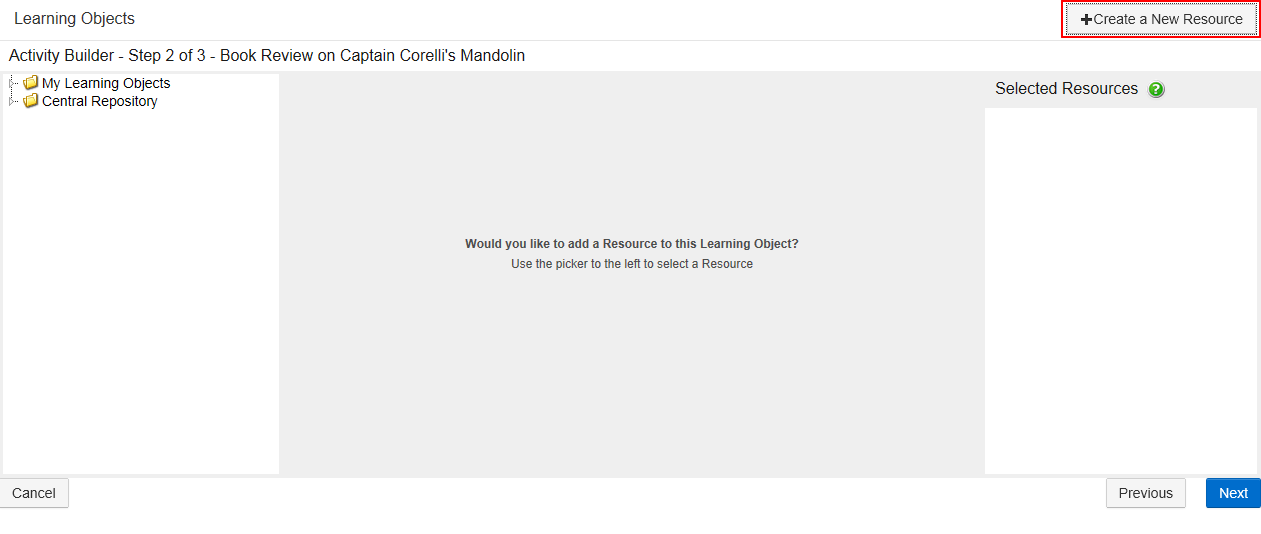
Click the 'Create a New Resource' button to create and add a new Resource to this Activity 'on the fly'.

This will open the 'Resource Entry' screen.
The following fields will be pre-populated with the information you entered into Step 1 of the Activity Builder:
'Subject Area'.
'Add to My Learning Objects or Add to Central Repository'.
'Year Group'.
'Topic'.
'Source'.
Click the 'Save' button to create your Resource. This will also automatically add your Resource to the 'Selected Resources' column.
This Resource will also be available through Staff Kiosk Assessment > Learning Objects (Maintain & Assign) under the 'Subject Area', 'Year Group' and 'Topic' that you nominated when creating your Resource.
If you elected to create an Activity that did not require marking, click the 'Save' button to save your Activity and return to the 'Learning Objects' screen.
If you chose to create an Activity that required marking or an Activity that required you to attach an Online Test.
Click the 'Next' button to proceed to 'Activity Builder - Step 3 of 3'.
