
Assigning Multiple Resources
Overview
This option allows you to:
Assign multiple Resources to one or more subject classes.
Assign multiple Resources to a custom group of students.
Click the 'Assign Multiple Resources' button on the 'Learning Objects' screen.
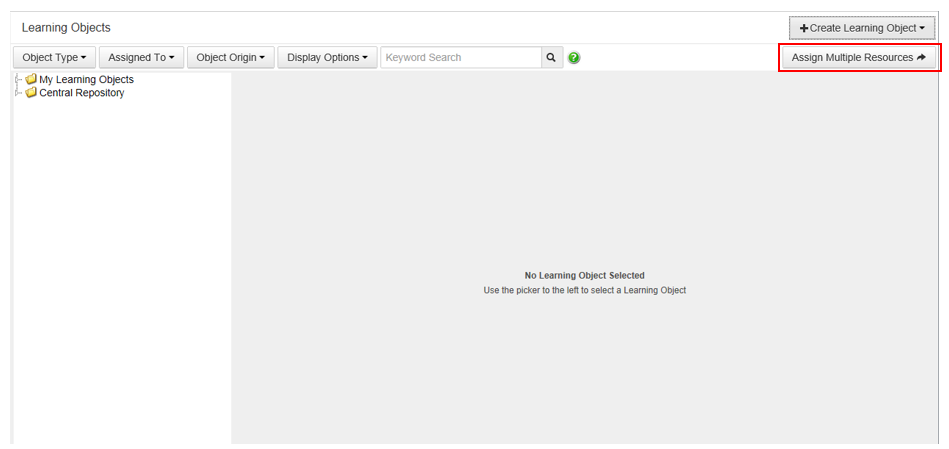
The 'Assign Multiple Resources' screen will display the Learning Object Repository, with Resources only loaded.
If you selected a Resource first before clicking the 'Assign Multiple Resources' button, the Learning Object Repository will open to the selected Resources location.
This is an example of the 'Assign Multiple Resources' screen.
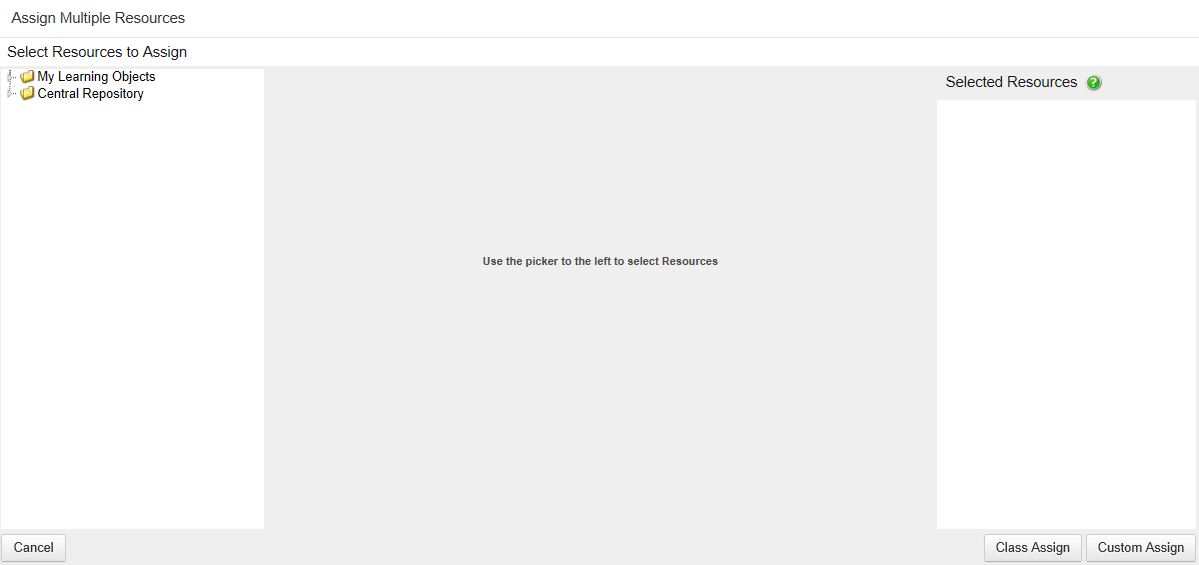
Browse through the Learning Object Repository to locate the Resources you would like to assign.
After a Resource has been selected from the Learning Object Repository, details of the Resource will be displayed in the middle of the screen:
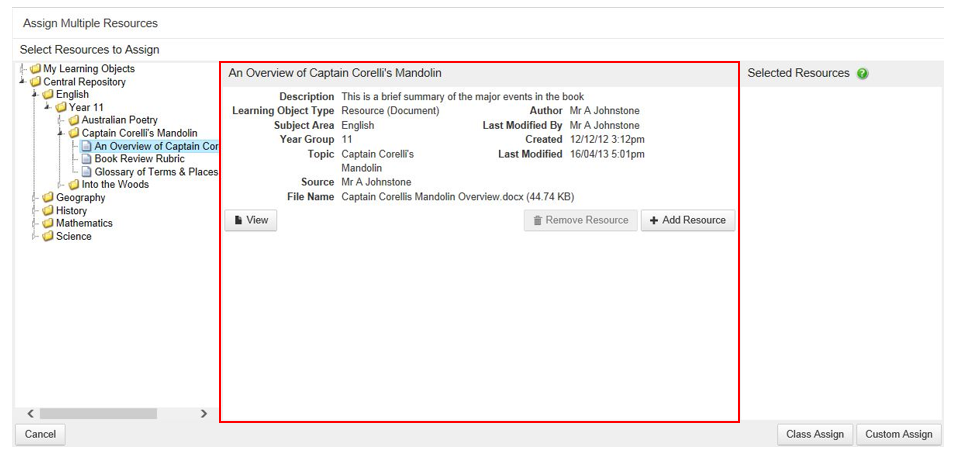
Click the 'View' button to look at the Resource.
Click the 'Add Resource' button to add the Resource to the 'Selected Resources' column.
You can also double click a Resource from the Learning Object Repository (left-hand column) to add it to the 'Selected Resources' column (PC and MAC only).
Repeat this process as required until all the Resources that you want to assign appear in the 'Selected Resources' column.
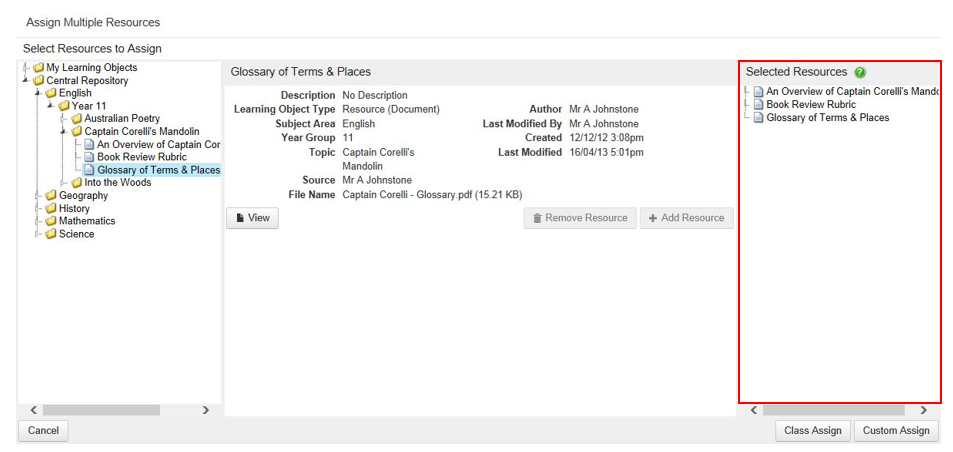
To remove a Resource, select the Resource from the 'Selected Resources' column and click the 'Remove Resource' button.
Click the 'Class Assign' button to assign the Resources in the 'Selected Resources' column to one or more classes or 'Custom Assign' to assign to a custom group of students.